


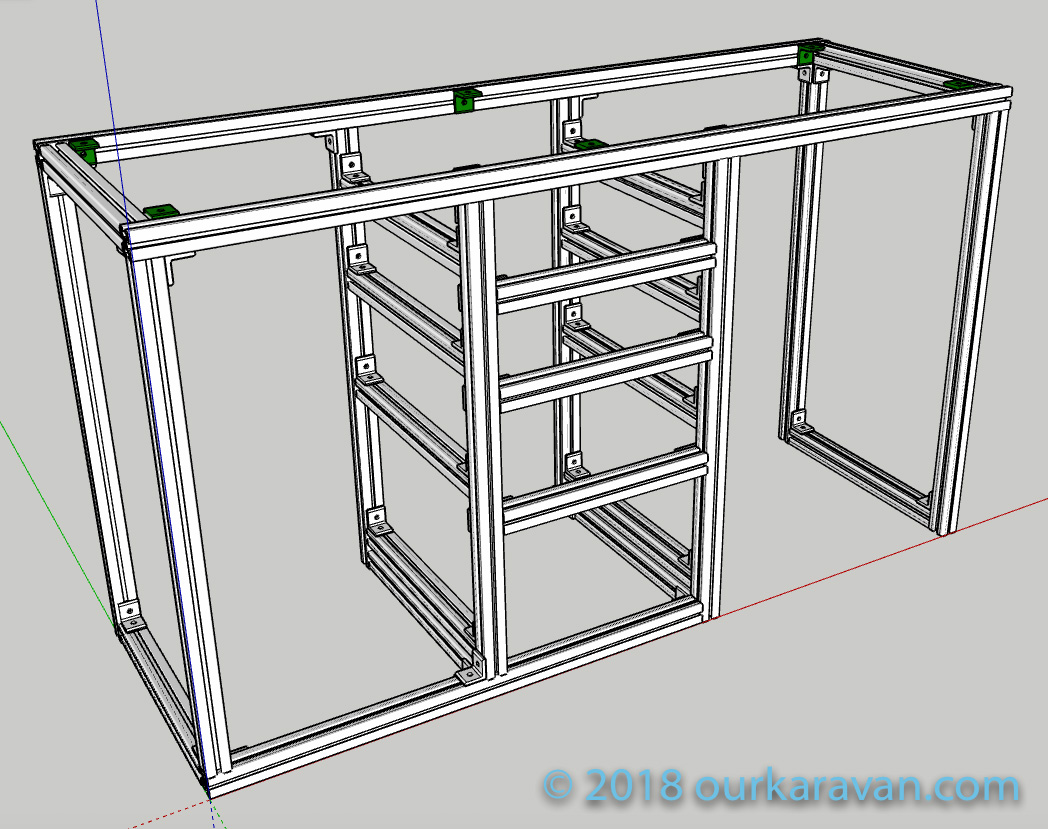
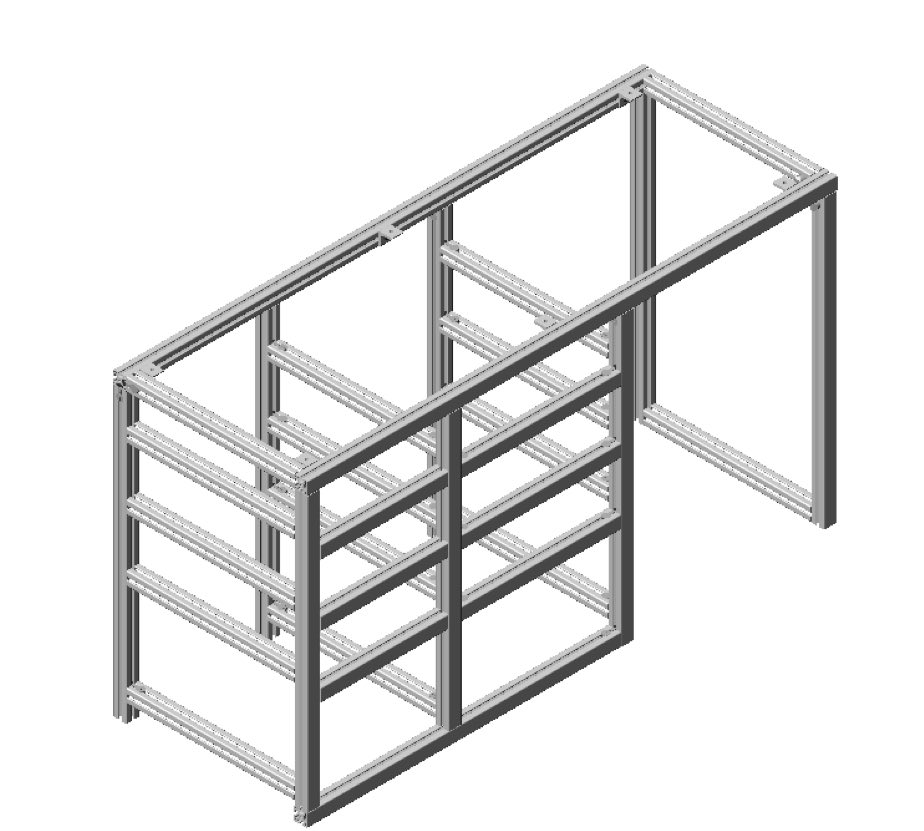
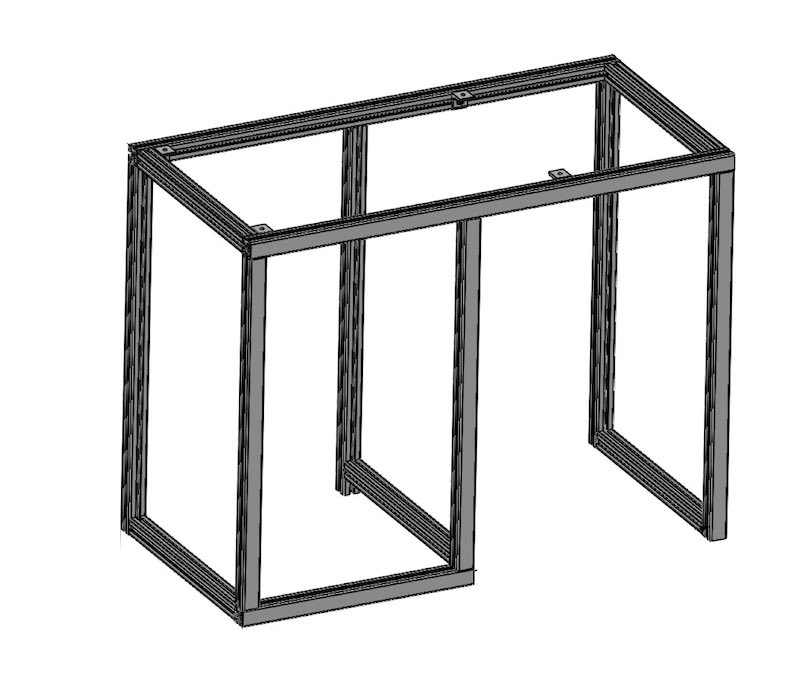
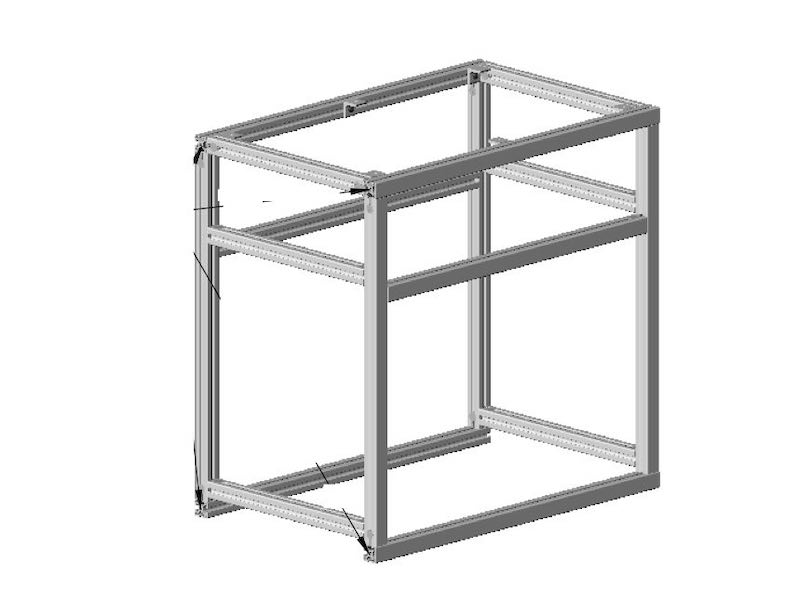
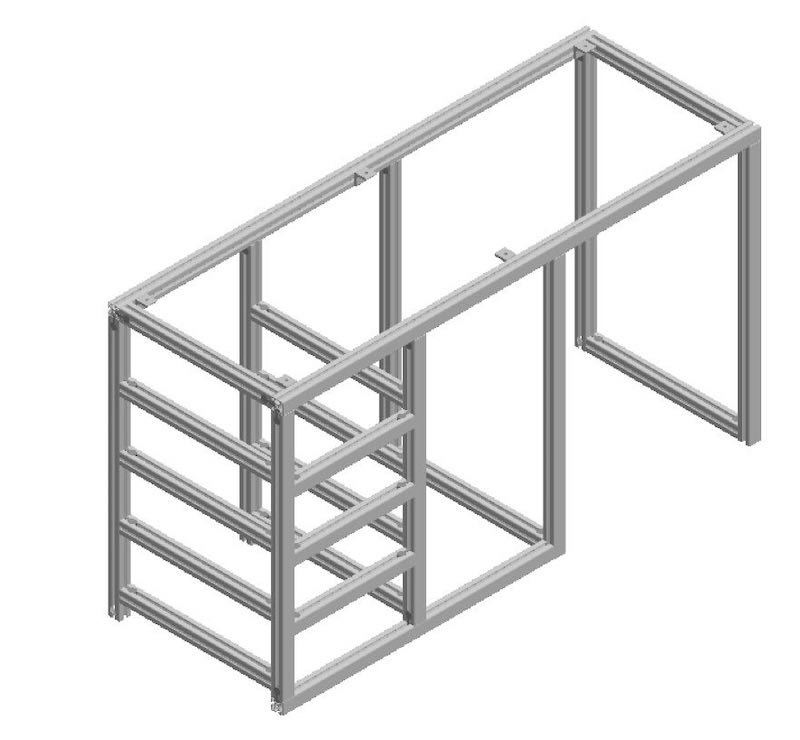
Marine-Style Refrigerator Cabinet
This kit is larger than our slide-out refrigerator cabinet and in addition to the cabinet that will accommodate our water system, it also has a bank of four drawers. The design is exactly the same as found in our OurKaravan Galley Cabinet Build, with two exceptions. First, the galley has been deepened from 20 inches to 22 inches. This allows for deeper drawers, a larger sink, and accommodates different styles of refrigerator mounting. Second, the assembly hardware has been changed from L-brackets to 80/20 anchor fasteners. This increases the strength of the connection, eases assembly and reduces cost. The added side benefit is the elimination of two 80/20 profiles that were needed in the original OurKaravan galley due to use of angle brackets.
Finished Examples


I have a 95L DZ. Could you reconfigure a couple measurements and make one compatible?? I understand the counter would be longer and that os good for us!! Bigger H2O tanks!
Hi Justin,
Yes, you can change the dimensions. If you click on the product link it will take you to the vendor’s website and there are instructions at the bottom that indicate how to request specific dimensions. Before doing-so, download the schematic so you can tell them exactly how much length to add to the specific profiles you want changed. If you have any questions please let me know. -Ken
I love these designs, but wish there was a more compact version for those of us that just need a small kitchen! I’m looking at 24-40”. Would love to see a compact design?
This is do-able with a smaller refrigerator. The marine style (hinged door) fridges are more compact than the chest style, so are you thinking a fridge cabinet with a water cabinet or bank of drawers next to it? Or perhaps a cabinet with no fridge at all? -Ken
Great Write Up!! Was wondering your process on sourcing the plyboo wood? Did you just contact plyboo directly for a quote or did you have a local vender supply it for you?
Hi, I have used two separate hardwood stores in my area, and both were able to order it for me without any problems. If they can’t get Plyboo for some reason I believe Cali-bamboo is a very similar product. -Ken
Thanks Ken, this is great!
Two questions:
1. I’d like to mount the kitchen cabinets to the wall of my adventure wagon kit, should I just get a few extra L-brackets? The same ones you use for the counter top?
2. Do you think you will be creating an overhead cabinet as well?
Hi Garrett,
Yes, angle brackets are a great way to attach to the AdWag kit. Find out what size fastener you’d use in the L-track to ensure the holes in the brackets are large enough. The countertop brackets holes may be slightly too small, but 80/20 offers brackets in a wide range of hole sizes.
As far as overhead cabinets, literally everyone wants something different. Different headliners, different depths and lengths for a variety of different vans and configurations makes it difficult.
Good luck and thanks for the message!
Ken
Ken!
What a fantastic amount of attention to detail. I’m looking to buy one of your 8020 kits as soon as I have the time to start installation! I have a follow on question regarding L-track installation in an Adwag Kit:
Assuming I will connect with L-brackets as Garrett mentioned; It looks like the only floor contact the 8020 frame would have is with the two l-track rails on the floor (and potentially the one on the wall). Am I wrong to assume that two small areas of metal on metal contact (8020 lateral members to l-track longitudinal members) would be bad support? I’m trying to find out how I would support the entire underside of your frame since the L-track is raised above the rest of the floor about 1/8″.
Thanks again!
Thank you for your time commitment making these video’s guides.
Hi Kyle, there are a couple of ways to go about this, and it probably all depends on how visible each of these would be. You could shim under the cabinet with either 1/8″ wood or aluminum, or perhaps use some 1/4″ closed cell foam between the bottom of the cabinet and your floor. I have an entire sheet of 1/4″ closed cell foam under my stock floor for insulation, so it is not as compressible as you might think. If you have some leftover from insulating, probably a good way to go, otherwise some other form of 1/8″ shim should be just fine. Not sure what you used for flooring, but perhaps you could use some leftover of that as well?
Let me know if you’d like any modifications to your cabinet kit’s dimensions…it is very easily done. -Ken
Hello, Super impressed with the 80/20 cabinet kit! I just finished the slide-out version for my 144″ sprinter, ready for install. I used Baltic Birch plywood to finish everything. For the top I doubled up 3/4″ plywood on the underside of the edges and routed it to half round. It gives it a thicker appearance and the end grain looks cool. (Like a laminate gun stock) I built my drawers with 3/4″ because I didn’t have 1/2″ and they are bomber solid with pocket screws and glue. I also used turn-buckle hardware, eye bolts, and Kevlar (climbing sling) webbing to secure the frig to the slide out drawer. I have an ARB frig, it has hard points for mounting. Works great and I don’t need any drawer front to keep frig in place. The step by step videos were great! This was one of the more rewarding projects in doing a van build!
Chris, thank you so much for the feedback, much appreciated! -Ken
I just found where you say you are using the 15 series. Can you tell us how to came to the decision to use 15 rather than the 10 series?
Hi, I discussed why I prefer 15 series in this article: https://ourkaravan.com/8020-extruded-aluminum-van-cabinets/
In a nut shell, it mostly has to do with fastener strength and the availability of more profile types and fasteners.
were and how do i buy a kit ? $$$?
Near the top of the page there are the links “buy this kit” for each respective design. -ken
Ken,
Great information all the way around. I’m ordering the marine style galley later this week. Just need to figure out fridge size.
Do you have any recommendations on building a bed frame and bench seating with 8020? I have a 1959 airstream that I’ve gutted and am rebuilding.
Thanks for all the information and for the links!
Sean
Hi Sean,
Let me know how I can help with the galley customization. I have some recommendations when it comes to resizing. I can’t post my email address here for spam reasons but if you use the contact form on ourkaravan.com I can reply with details.
As for the bed and bench, I don’t have any specific recommendations other than I much prefer the 15-series to the smaller profiles. Sounds like you have a fun project! -Ken
Hey Ken,
I’ve gonna shrink the width of the slide out cabinet a little bit – still need to accommodate a 28″ wide stove in the top drawer. How wide is the drawer as is?
Thanks,
Doug
Hi Doug, which kit are you referring to? Feel free to contact me directly through my contact page on ourkaravan.com and I can help out. -Ken
Hi Doug,
Is it possible to switch some parts around without cutting to make the fridge on the left and the sink in the right?
Absolutely, it can be done with both kits. I have the prototype configured this way currently–contact me through the contact form on ourkaravan.com and I can send you a photo of it configured in this way, if you like. -Ken
HI. I wanted to check the prices and thre possibility of purchasing one of your smaller kitchen cabinet [re made kits. i cant seem to find the purchase button. and or info on how to purchase one from you. thanks.
Hi Gus,
Near the top of the webpage are images of the two kits and above the photos are links that read “buy this kit.” Here’s the site: https://ourkaravan.com/cabinet-kits/
Let me know if you have any questions about the kits, and take care! -Ken
What size 80 20 are you using?
I use exclusively the 15-series (1.5″). I’ve worked with the smaller stuff but vastly prefer the 15-series over everything else. -Ken
Hello, I want to build a galley similar to Revel on the sliding door side. I want to be able to open a drawer fridge from outside the van. Wondering if you or anyone have previously built this a have a parts list.
Hi, I have not but maybe someone seeing this comment has. Anything is possible with 80/20! -Ken
Hi, where are you located and roughly the cost of your frame kits?
Hi Peter, the links to the distributor can be found on this page: https://ourkaravan.com/cabinet-kits/ by clicking on the “buy this kit” options near the top of the page. All prices are listed on the vendor’s website along with shipping estimates based on region. Thank you for your interest. -Ken
What is the weight Capacity on each of the kits? Can it hold 300 lbs at least? Looking to put a small pizza oven on one of these.
300 lbs is no problem…with my 72 lb (empty) fridge loaded with food, 10 gallons of water that is strapped inside the cabinet, and four loaded drawers I’m over 300 lbs. If you need some minor dimension modifications to accommodate your needs, feel free to reach out to me via the contact form. -Ken
Hi Ken
What are the dimensions minus middle drawer section? I’m tight on space but already have the fridge. Can the company you partner with build this minus the middle drawer section?
Yes, I will reach out to you via email. -Ken
Are you spacing up the cruise 130 at all? I was just reading through the manual and it seems like they want a 35-45mm gap underneath and 30-40mm at the back of the fridge for proper ventilation. I will add passive vent’s to the back/side of my cabinet but would rather not have a large gap under it.
I added a very small amount of space (1/8″) to the height of the fridge, but only to allow the door to clear my in-floor seat tracks. The feet on the bottom of the unit already provide some amount of space underneath. There is some space behind the galley for an air gap, and in addition my van walls are unfinished, so the refrigerator has the additional depth of the insulated wall cavity behind it for air circulation.
Is it possible to install one of these cabinets in such a way that it can be removed without too much difficulty when just using the van locally? I have an extended e350 van with 6 captains chairs that I do use on occasion. I don’t mind pulling two out so I can use the cabinet but am wondering if there is a way to get the best of both worlds when, on occasion, I need the extra seating. Thanks!
It is certainly possible, especially if you’re attaching the cabinet to L-track with some simple spin knobs. That said, it will likely take two people to remove and you’ll have quite a number of things to disconnect including sink drain line, electrical for the water pump, etc.
These plans seem to be for driver’s side only – do you have any recommendation for passenger side galleys? Or systems that are split between driver and passenger side?
Hi Marc, these cabinets are not van-specific or side-specific; they simply need a floor to sit on and part of a wall to attach to. We have done cabinet splits before, with a couple of them featured at the bottom of this webpage. If you would like to have one split, please contact me through the provided links and we will make it happen. Thanks for the comment. Ken
got ant tips on where to buy the Isotherm Cruise 130 “Elegance” refrigerator
I am in zip code 81301
Thanks
GB
I do not have a specific source; my advice would be an internet search to see who currently has the best deal. -ken