Scopema Seat Swivel Install

How to Add Seat Swivels to your Van

OurKaravan Logo

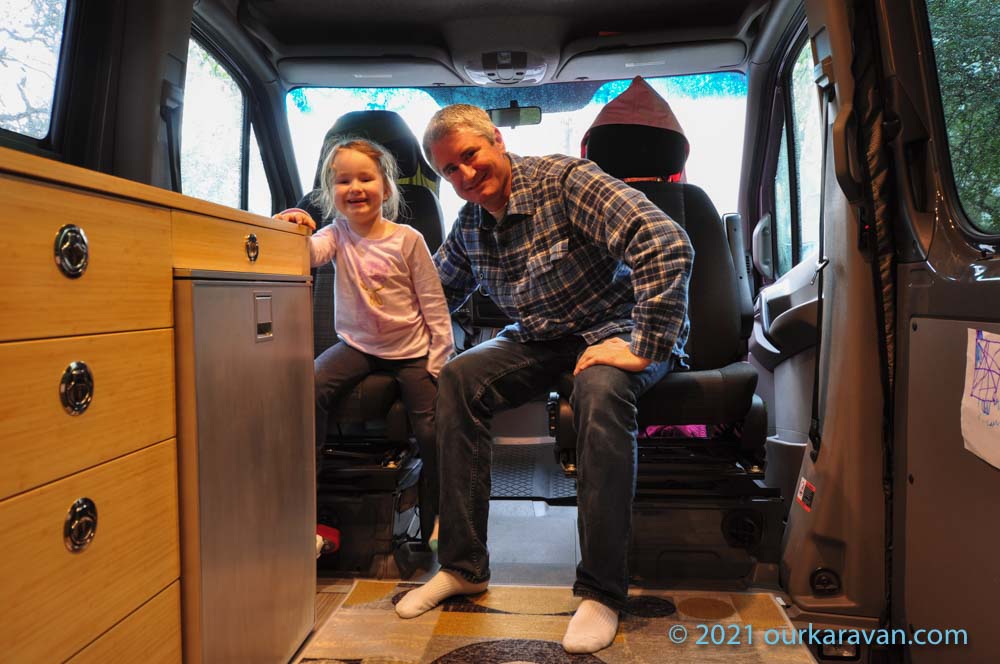
Seat swivels allow for 180-degree rotation of the driver and/or passenger seats with the flip of a lever.  Rear-facing seating has vastly expanded the usable living space inside our van and is an integral part of our layout. 

Swivel seats in a Sprinter van
Sprinter van swivel seats

Scopema Seat Swivels

There are quite a few seat swivels on the market, so which to choose?  We would recommend finding a seat swivel that meets some sort of crash standard.  The french-made Scopema swivels for the 2007-2018 Sprinter comply with European TUV standards.  Other manufacturers of seat swivels make no mention of any sort of safety testing, buyer beware.  

Seat swivels add height to the seat base, so pay attention to the height being added by the swivel. The Scopema is one of the more low-profile options at 7/8″ high.  By comparison a Sportcraft seat swivel is 1-5/8″ tall.  

Finally, you want smooth operation and a sturdy design so the seat does not squeak or rock excessively side-to-side.  The Scopema swivels are among the highest quality seat swivels available.

Note:  This site contains affiliate links for which I may be compensated.

Parts Required

  • Scopema Seat Swivel(s) for Sprinter, Transit or ProMaster
    • The link above is embedded with a 5% off “ourkaravan” coupon code!  (You should see it applied in the cart, if not add “ourkaravan” coupon code at checkout.)
    • Note–driver’s side includes parking brake lowering bracket 
    • All mounting hardware included

Tools Required

  • 7/16″ socket and driver to remove seat pedestal bolts
  • #6 Allen wrench for the new seat swivel mounting hardware
  • 16mm and 17mm sockets for parking brake hardware
  • T50 torx bit to remove lower seatbelt mount from seat
  • Some sort of cutting tool for trimming plastic seat skirt and parking brake skirt–hacksaw, Dremel, oscillating tool, etc.
Scopema seat swivel for Sprinter
Scopema Seat Swivel and Mounting Hardware

**We have a complete install video at the bottom of this article.**

Electrical System Preparations

Begin by disconnecting the electrical system on your van.  On a Sprinter, this is done by pushing the red button on a plastic power post located down near the throttle pedal.  Be sure to follow the warning sticker that advises waiting 10 minutes since the vehicle was last run before disconnecting.  You do not want to turn the ignition on during any time during this process, or the disconnected airbag connector will trigger an error light on the dashboard.

Slide the seat forward and disconnect the electrical plugs.  There are usually two connectors, possibly three if you have seat heaters. 

Removing the Seat(s)

Using a T50 torx driver, remove the lower seatbelt mount that is attached to the side of the seat.   Now remove the four 7/16″ bolts that retain the seat to the pedestal, and remove the seat from the van.  

Set the swivel seat on the pedestal with the red handle pointing toward the center of the van.  Swivel the seat swivel slightly to allow access to the swivel mounting holes and use the supplied #6 Allen bolts to attach the swivel to the seat pedestal.  

Parking Brake Lowering Bracket

On the driver’s side we must install a bracket to lower the parking brake handle.  Without this hardware the seat swivel would contact the parking brake and not allow it to swivel.  A plastic clip retains the back half of the parking brake cover to the handle.  If you look between the parking brake and the inside of the handle, you will see a plastic clip retaining the trim cover.  Use your fingers or a pair of pliers to carefully push the back of the clip out of the retaining hole.  You can then slide the cover toward the rear of the van to separate it from the rest of the handle. 

Use a 16mm socket to remove the two bolts that attach the parking brake handle from its assembly.  The supplied parking brake lowering bracket can be bolted to the seat pedestal mounting bracket using the supplied #6 Allen bolts.  The included 17mm bolts then retain the parking brake handle to the lowering bracket.

Scopema parking brake lowering bracket Sprinter
Scopema parking brake lowering bracket
Sprinter parking brake handle trim
Material removed from the parking brake trim cover

Trimming the Plastic Parking Brake Handle

Now that the parking brake handle is lower, the plastic skirt of the handle must be trimmed. The amount required to trim depends on the van, but for this van we removed no material from the front portion of the skirt and up to 1/2″ toward the rear portion.  You can use a hacksaw blade, Dremel tool, oscillating tool or perhaps even a sharp razor to trim the plastic.  Any irregularities in the cut can be repaired with sandpaper.  Once the skirt is trimmed it can be reattached to the parking brake.


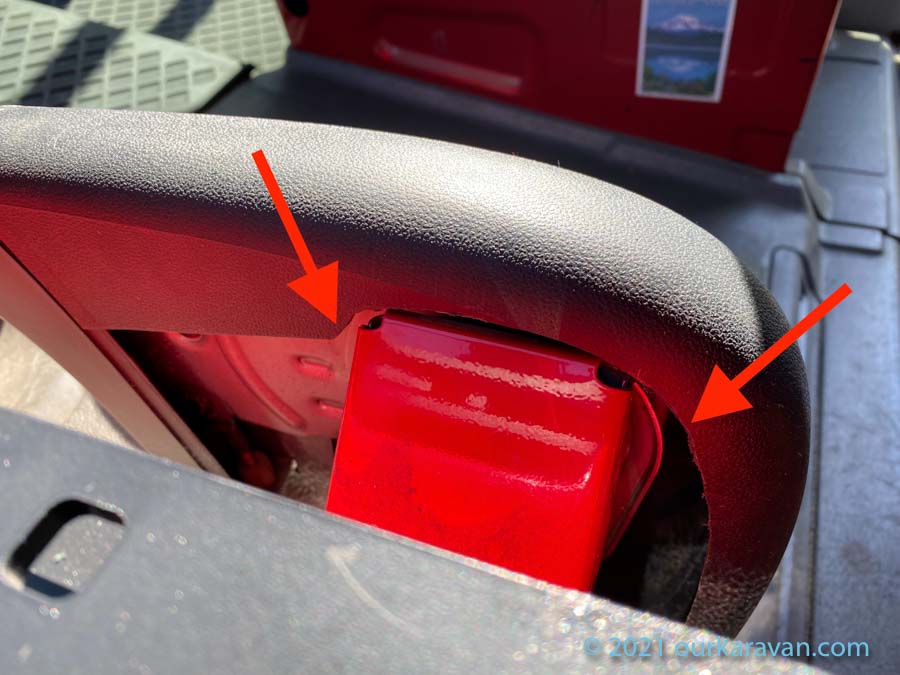
We also had to trim the inside of the parking brake handle as it was contacting the inside the mounting bracket.  This area is not easily seen so hack-away as needed.  The area between the two red arrows is where we trimmed.

Sprinter parking brake handle modifications


Trimming the Plastic Seat Skirt

The seat has a plastic skirt designed to hide the seat tracks.  The plastic skirt must be trimmed when adding seat swivels or the seat will not swivel.  We chose to trim the plastic skirt in such a way that the seat can be swiveled regardless of where the seat height adjustment is set.  If you want to retain the full up and down movement of the seat while still allowing it to swivel, the seat skirt must be trimmed down so it hangs only 11/16″ from where the seat rails rest on the pedestal.  

The photo shows the underside of the Sprinter seat.  To the left is the bottom of the seat rails.  Drawn on the blue tape is a pencil mark set 11/16 inches below the bottom of the seat rail. Trimming here will allow the seat to swivel even when the seat height adjustment is set at its lowest.  

With the seat skirt trimmed, you can see how the skirt sits above the swivel, which will allow the seat to swivel without hanging up on the skirt.  We later learned if you take a black Marks-a-lot pen and draw over the cut, will help hide the cut.

Seat skirt modifications for swivel seats

Seat Skirt Notching, continued

You may find that the seat lightly rests on the swivel adjustment handle with the seat in the lowest position.  If you often run your seat in the lowest setting, you may need to notch about 1/4″ around the handle.  In this case the owner of the van rarely lowers the seat all the way, so we left it as-is.

Finishing Up

With the parking brake handle and seat skirts trimmed, you may now install the seat(s).  Using the supplied hardware, push the four mounting bolts up through the seat swivel and through the seat track and secure with the nut.  Once all four corners are bolted down you’re nearly done!  Reinstall the lower seatbelt mount to the seat with a T50 torx bit and reconnect the electrical connections under the seat.  

To use the seat swivel, pull the red handle to the rear and swivel the seat.  It’s likely the seat will need to be in the forward position to clear the steering wheel and the door.  On the driver’s side you will have to lower the parking brake handle. Use good judgement…don’t lower the parking brake if it not safe to do-so.  Enjoy your new-found seating space!

Content Creation

We are doing our best to offer as much information as possible for free.  A lot of time, effort and money goes into developing and maintaining this website.  If you find the information on this website helpful, you may use our various links when you are ready to make purchases.   Please note, OurKaravan.com may earn a small commission from qualified purchases on this website, at no cost to you as the buyer.  Alternatively you may consider using the donate button below to make a simple Paypal payment, or message us if you prefer Venmo.  We sincerely appreciate your visit as well as your support.   

Watch our Seat Swivel Install Video

This Post Has 10 Comments

  1. Russ

    You have the best build content! Is there a link or code I can use so that you receive a commission from TheSwivelShop for purchasing the seat swivels? I would hope that there is seeing that they have your install video posted on their Sprinter swivel product page. Thanks for all the valuable information you are sharing!

    1. ourkaravan

      Hi Russ, thank you, I appreciate the positive feedback. You can use the link in this article–I appreciate the support! -Ken

  2. Joanna

    Do you recommend this approach over ordering from the factory with the swivel seat option?

    1. ourkaravan

      Not necessarily, if you can get factory swivels installed from the factory, it’s one less thing to have to mess with. I have the Mercedes swivels in my own van (for the video I installed the Scopema swivels in my buddy’s van), and the downside I see to the factory swivels is they are tall and fairly unattractive compared to the aftermarket. A lot of dirt and dust collects in there, which I feel is less noticeable on the aftermarket ones. Not a big deal though.

  3. Russell

    Ken: what height pedestal do you have on the driver’s side? It looks like the “standard”. I bought the Mercedes low-profile and the handle of the Scopema is hitting the brake handle ever after lowering the brake.

    I love the content you’ve posted. During my research, you were definitely one of the prime sources of ideas and how-tos. Thanks for all you did.

    1. ourkaravan

      Thank you Russell, I appreciate the kind words. Did you trim the plastic cover for the handle? Without trimming it won’t clear the swivel seat.

      My van is stored offsite but I’ll get a measurement soon.

  4. mikaela

    Is there anyone feedback or way to tell that the electrical system has been successfully disconnected after you press the button?

    1. ourkaravan

      Not necessarily…I would disconnect and let the van sit for a few minutes before doing anything. -Ken

  5. Dan

    Hi Ken, I have the new scopema swivel for the drivers side that apparently sits above the air ride seat. I can’t find any video or instructions regarding the air ride install

    1. ourkaravan

      Hi Dan, I don’t have any direct experience with the air ride seat (I’ve heard they are amazing)! Did you purchase it through Swivel Shop? I would get in touch with them since I am sure they have some kind of experience as it relates to the air ride setup. -Ken

Leave a Reply